|
Size: 1240
Comment:
|
Size: 1289
Comment:
|
| Deletions are marked like this. | Additions are marked like this. |
| Line 7: | Line 7: |
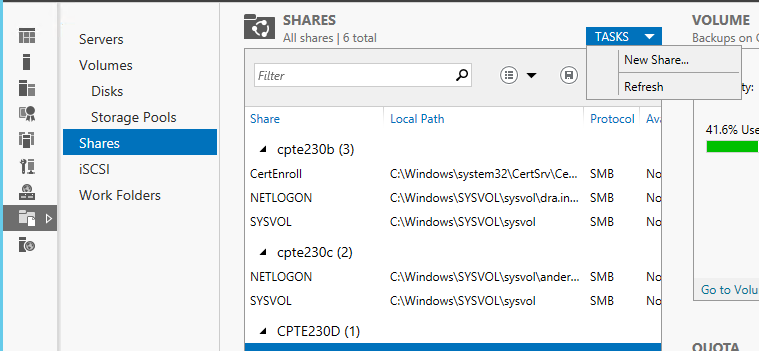
| a. Click on Shares | a. Click on Shares {{attachment:server manager storage shares.png}} |
Lab 11
In the previous lab you created a disaster recovery plan. This plan should have included backing up the website that was created in our IIS lab. Implement the part of the plan that backs up your IIS directory. If you don't have IIS working (i.e. you were not able to get the IIS lab completed, choose any text file to backup).
- Perform a backup as per your plan. (You should backup your files to a share on a different server
- Create a folder on a different machine (I used "\\cpte230c\c$\backups")
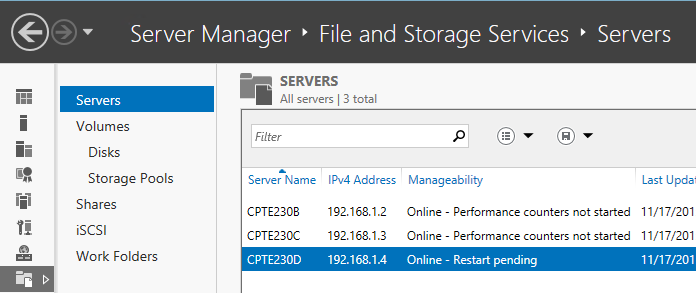
Go to the Serer Manager --> File and Storage Services

Click on Shares

- Change/delete the file(s) so as to deface/destroy the website (or files in your backup).
- Restore the original file(s)
- Show the restored website for full credit.
There is no documentation for this lab!
Video Grade Guide
Topics |
Points |
Show the website/file you will deface or destroy. |
10 |
Show a file being deleted or change |
10 |
Show the defaced/destroyed the website/file |
10 |
Show the restore procedure restoring the selected file to its original condition |
50 |
Show the website/file restored. |
20 |
